

How to Hang Displays in School Hallways That Won't Fall Down
If you’re a teacher, then you've experienced schoolwork falling like autumn leaves from hallway walls. As a K-8 art teacher I was on a mission to put an end to this frustrating experience. It takes a lot of time to put together a hallway display, and I cringe at the thought of artwork getting damaged.
After lots of experimentation and failure I’ve discovered two products that make hanging artwork in school hallways easier and now the work stays up for months!
For the annual art fair I prep dozens of banners that each hold 8 to 10 pieces of art. I searched high and low for the best tape and dropped ceiling hooks to mount both types of displays. What follows are descriptions of the products I’ve discovered and how to use them effectively.
The quest for the perfect tape
I searched and searched for a tape that wasn’t too expensive, would stick to smooth AND bumpy surfaces (including cinderblock!), and wouldn’t give way during a wave of humid weather. I finally found it on Amazon: it’s XFASTEN double-sided tape, a clear acrylic tape designed to adhere to rough surfaces indoors and outdoors. I tested XFASTEN by attaching a piece of paper to a rough patch of ceiling in my classroom. After a couple weeks it was still there.
It was time to put it to the test on the rough plastered walls in my school’s cafeteria. Previously, I had used Velcro to hang painted and collaged houses art club students had made. I hung the artwork 10 to 12 feet high in the cafeteria which meant I had to ask maintenance to bring in a tall ladder. Boy, was I mad when the art began to flutter to the floor!
After testing XFASTEN I was ready to put it to work in the cafeteria. I’m happy to report that the tape is still holding six months and counting! My only complaint about XFASTEN is that it’s difficult to peel the red vinyl backing off of the tape. I use the tip of a box cutter blade to tease a corner loose, so I can get a better grip. That said… I’d rather spend a few seconds peeling the backing off than picking up fallen artwork.
Hooks for dropped ceilings

Next I searched for dropped ceiling hooks. I settled on Outus hooks. I wasn’t sure if they’d work because I needed something to grip onto the metal strapping adjacent to the wall. Outus hooks open to grip both sides of the strapping. You can see in this photograph how I insert only one side of the hook. Even with only one side to grip the strapping these babies hang tight.
Collaborative art display
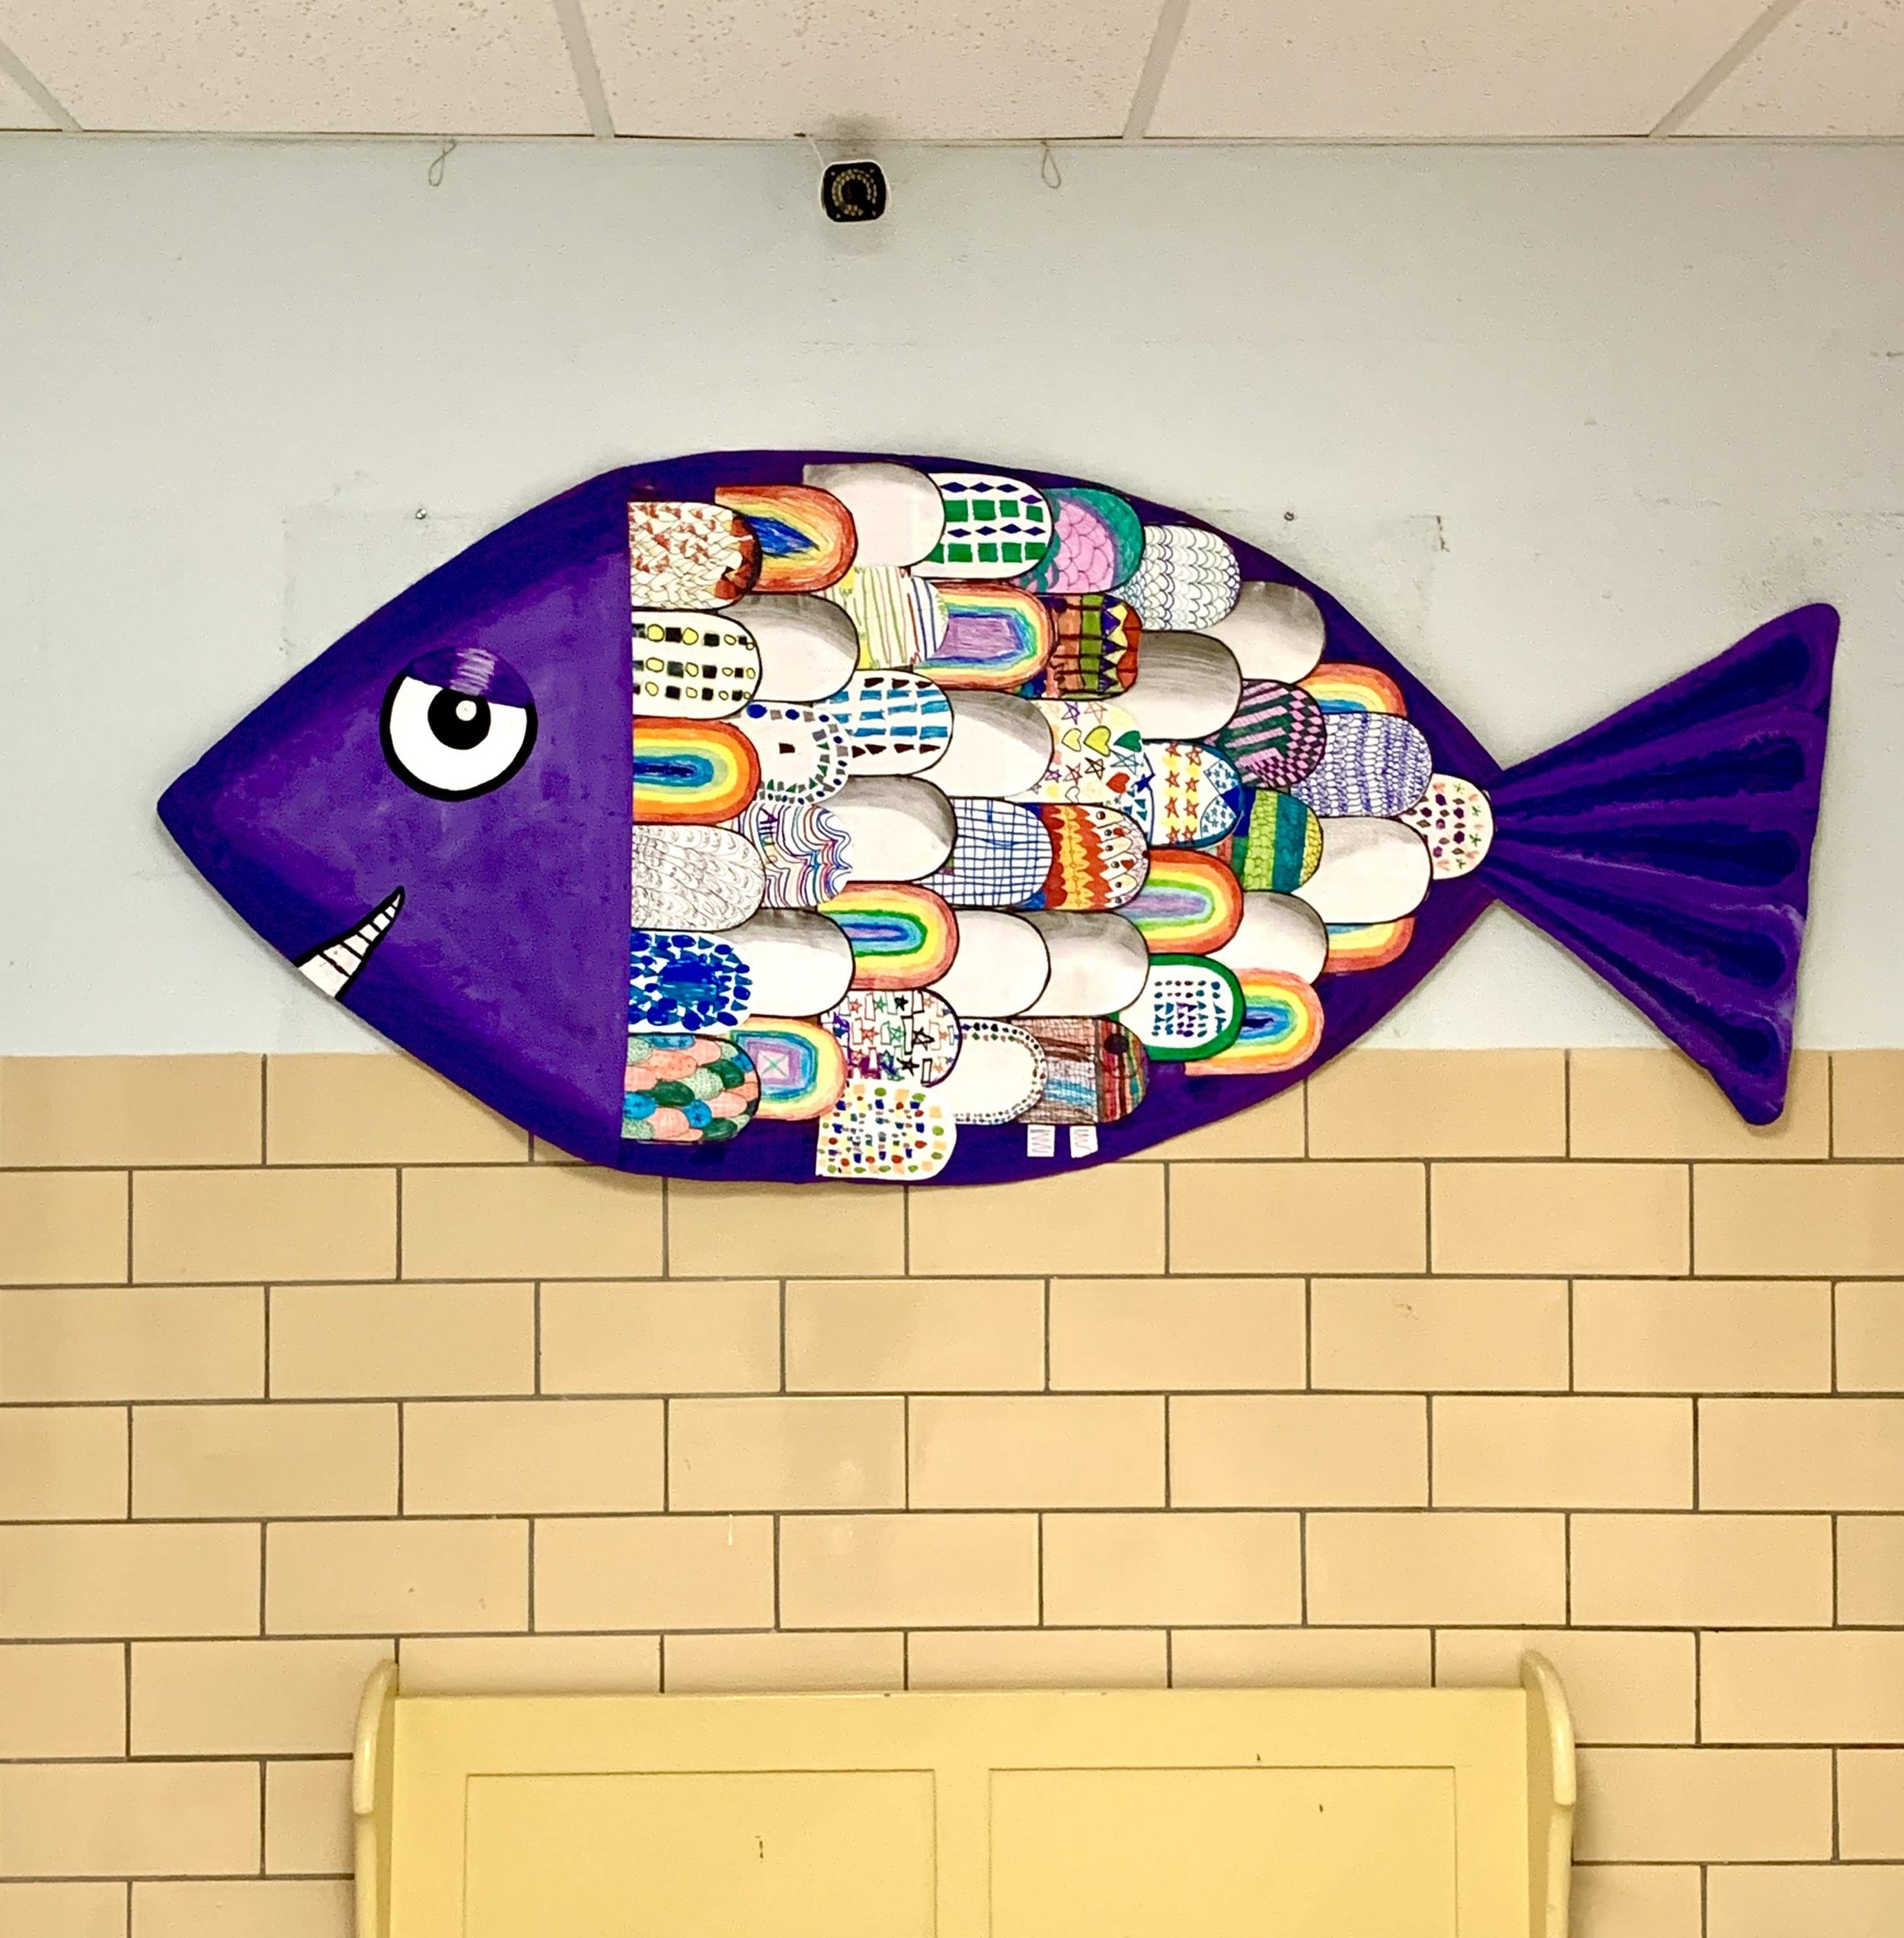
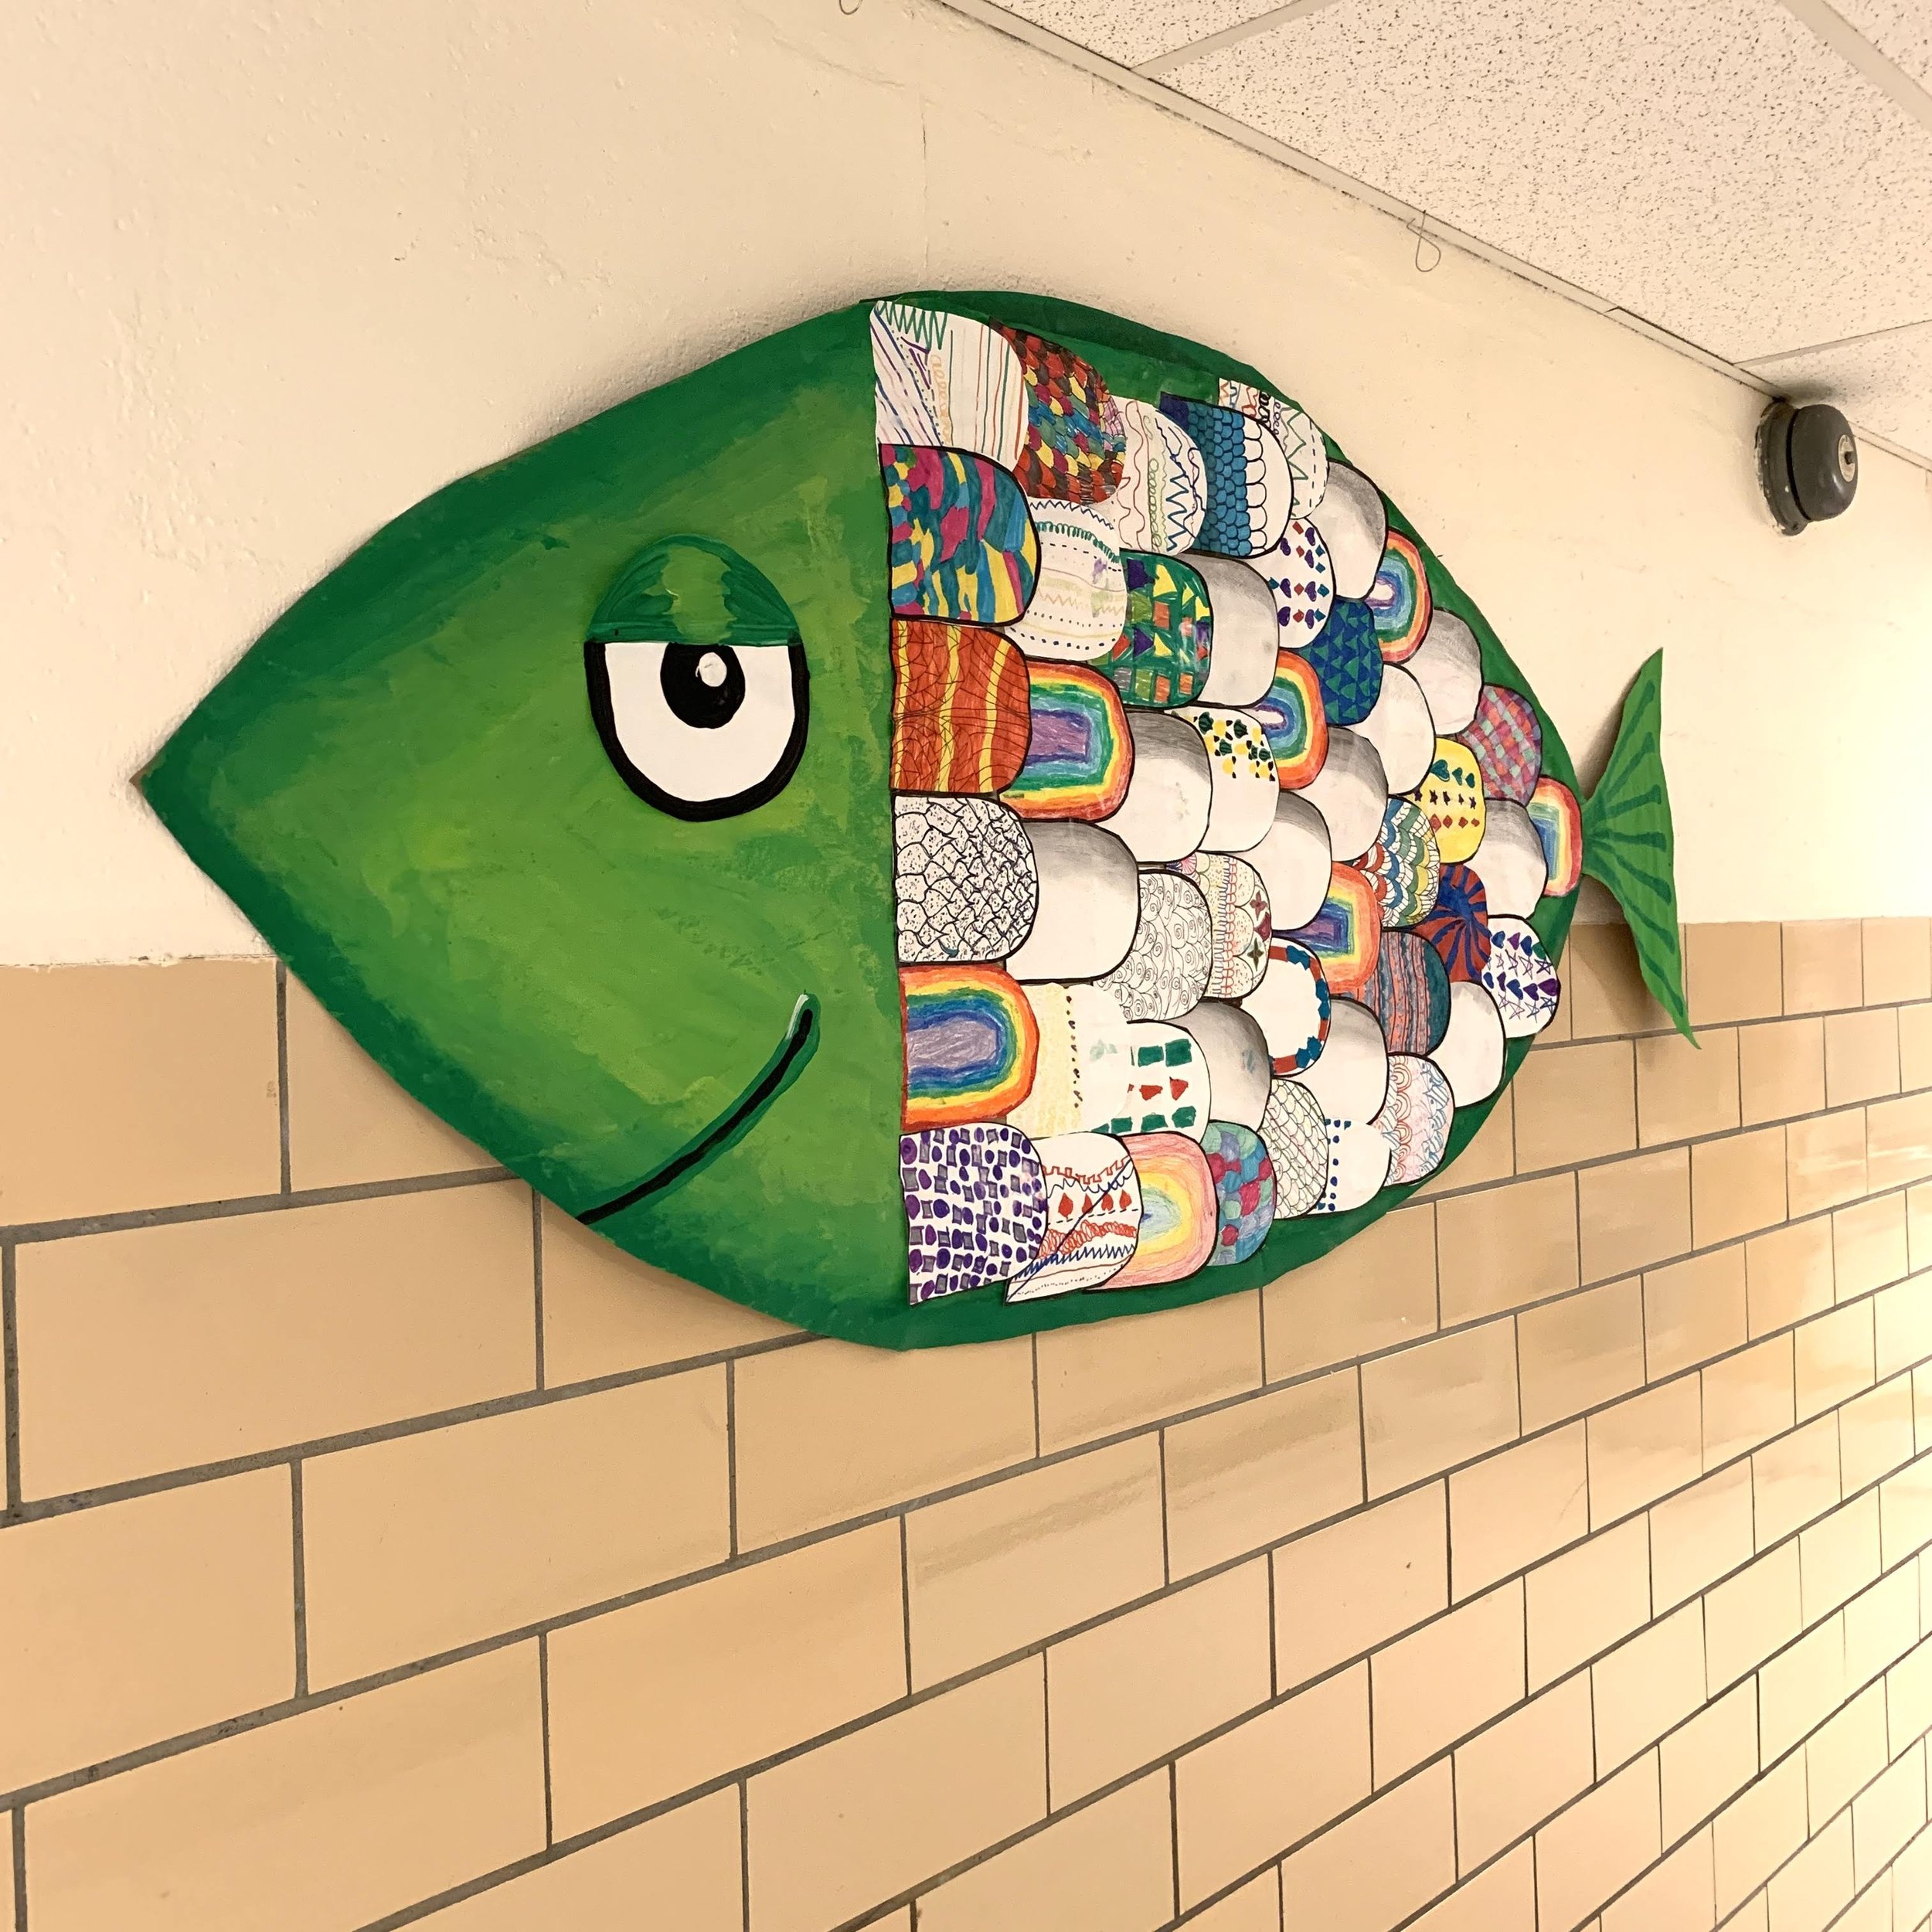
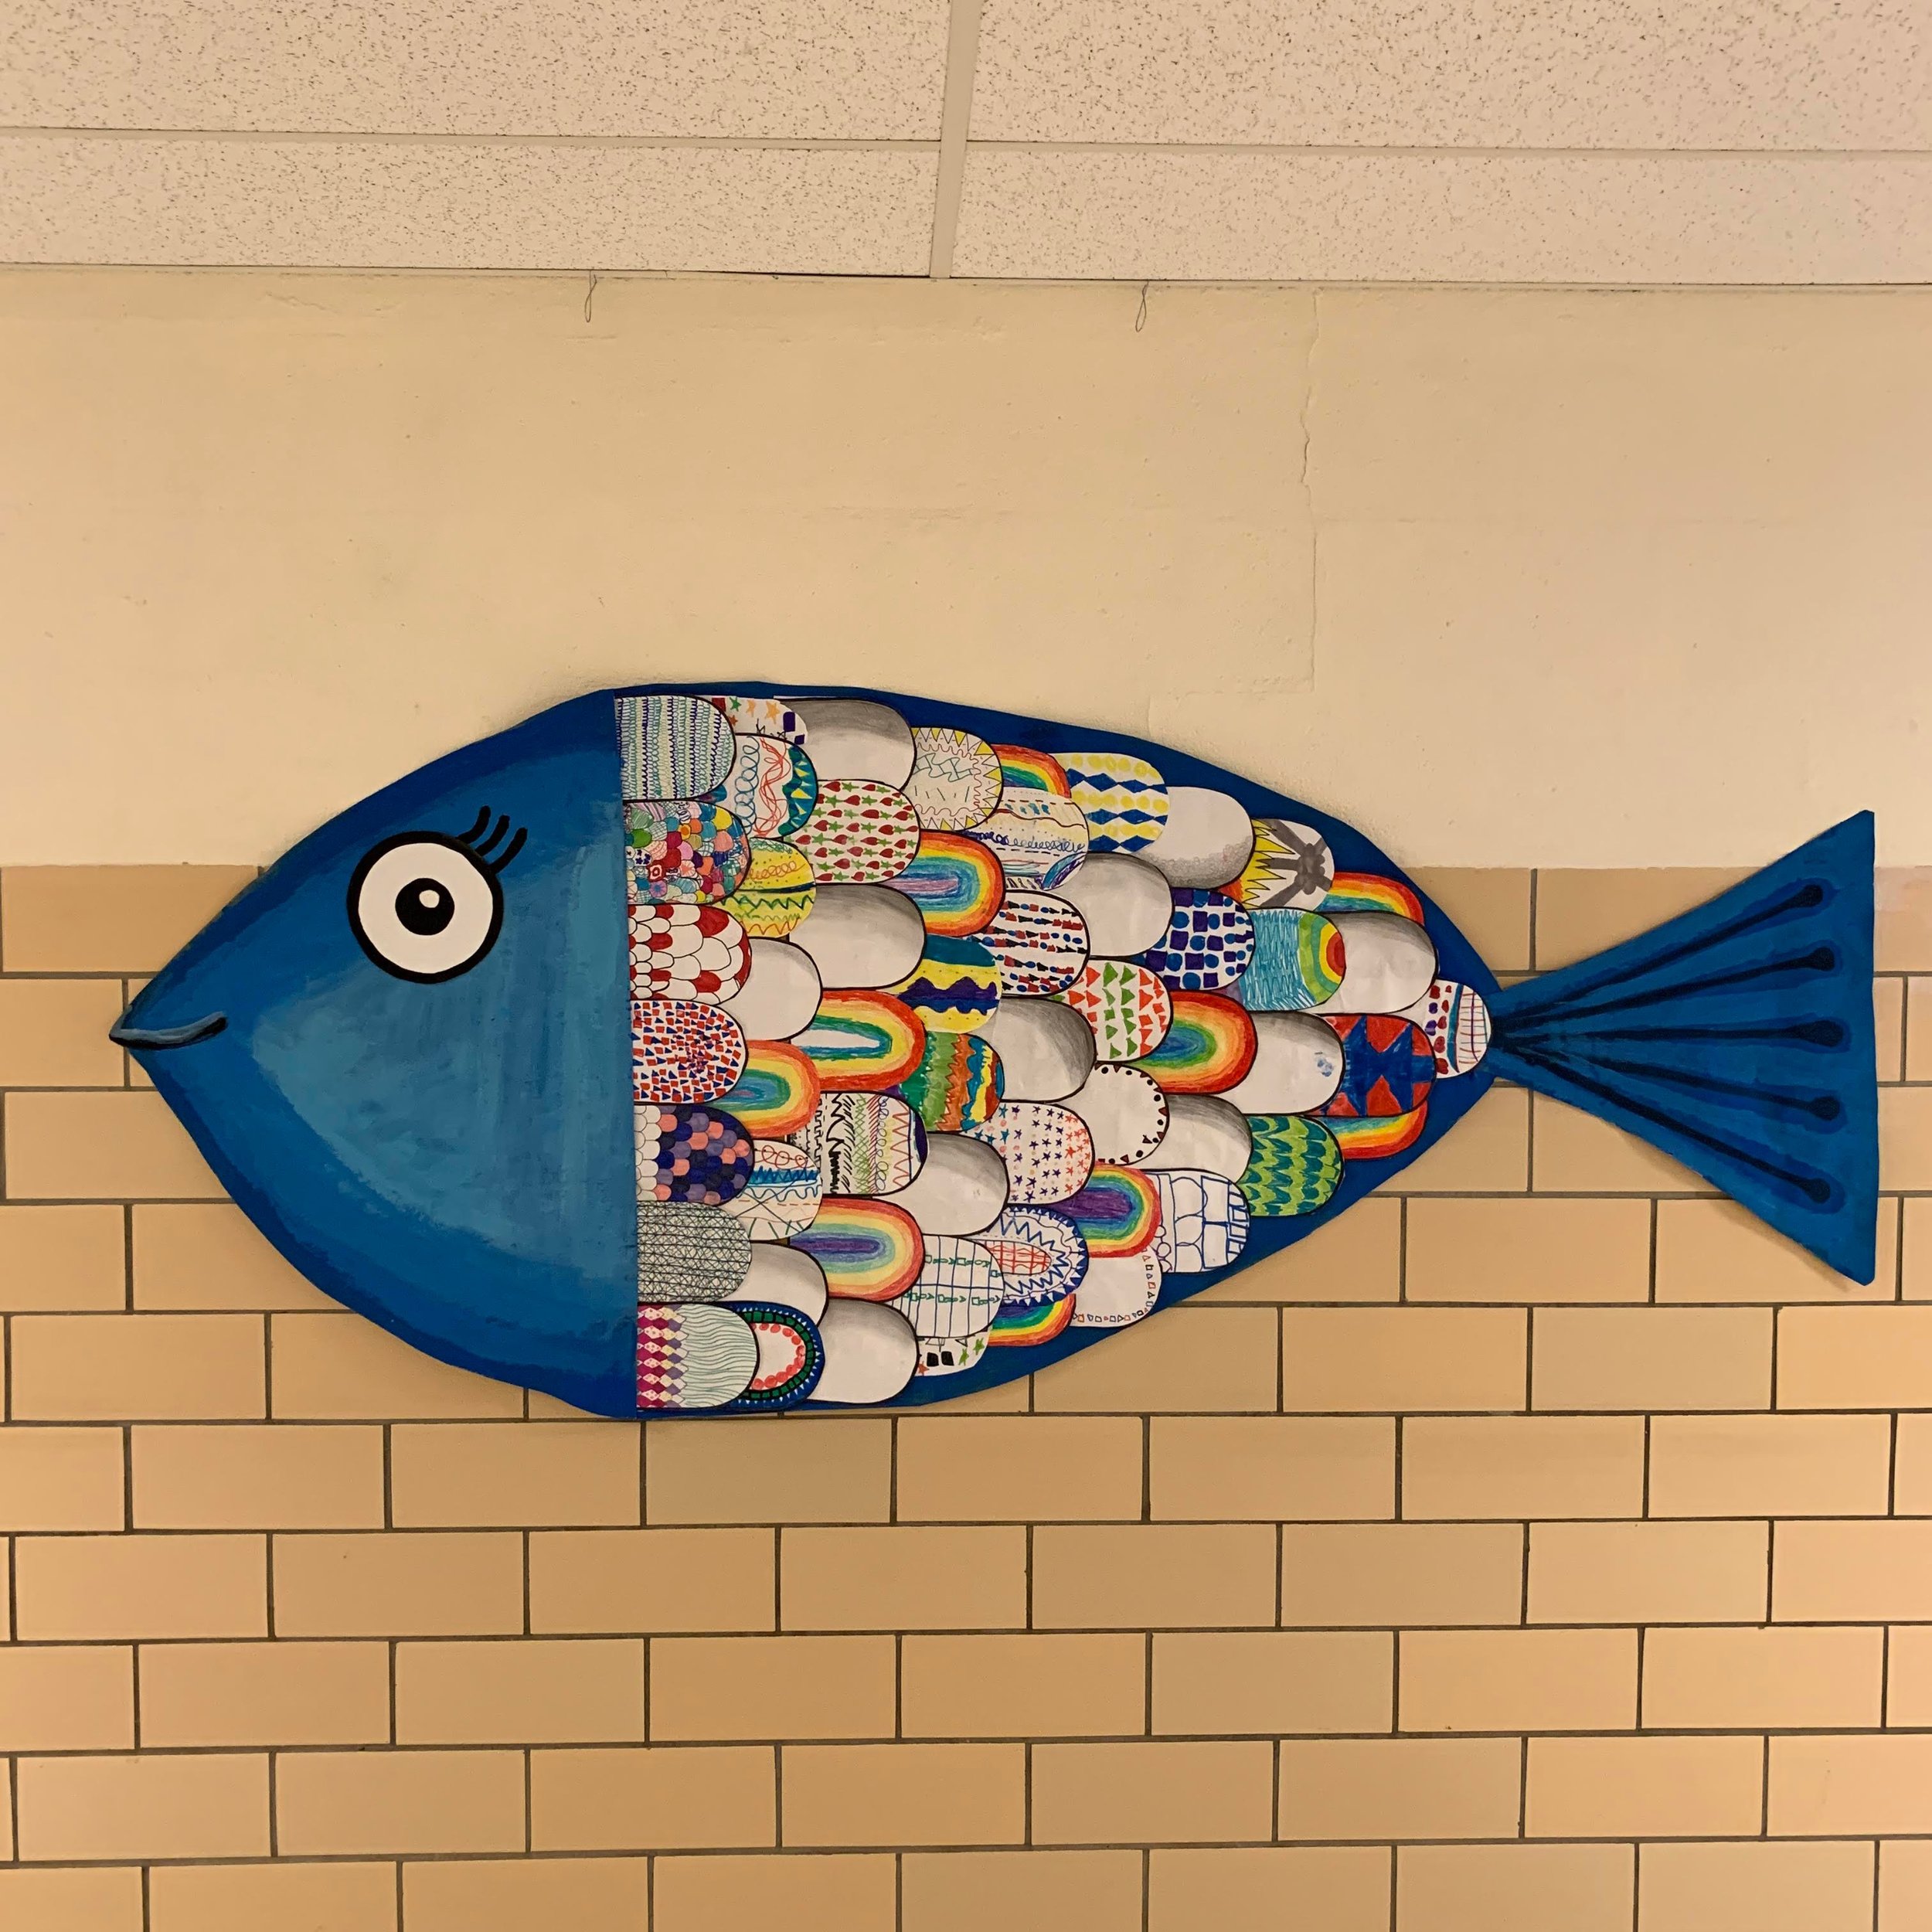
Every year, I design a large display for the hallway that includes something made by every student in the school. Last year it was monochromatic self-portraits. This year, I made three large fish with multicolored scales. At the beginning of the school year, each student drew something on a pre-printed fish scale. It was a quick and easy project, perfect for the first couple of weeks when we are practicing routines in the art room.
In addition, it served as a review of concepts learned in the previous year: I had kindergartners and 1st grade draw different kinds of lines with markers, grades 2 and 3 drew AB patterns, grade 4 made rainbows with crayons, grade 5 and 6 drew fish scale patterns and 7 and 8 shaded one side of their scale using their choice of lines (stippling, crosshatch, etc.).
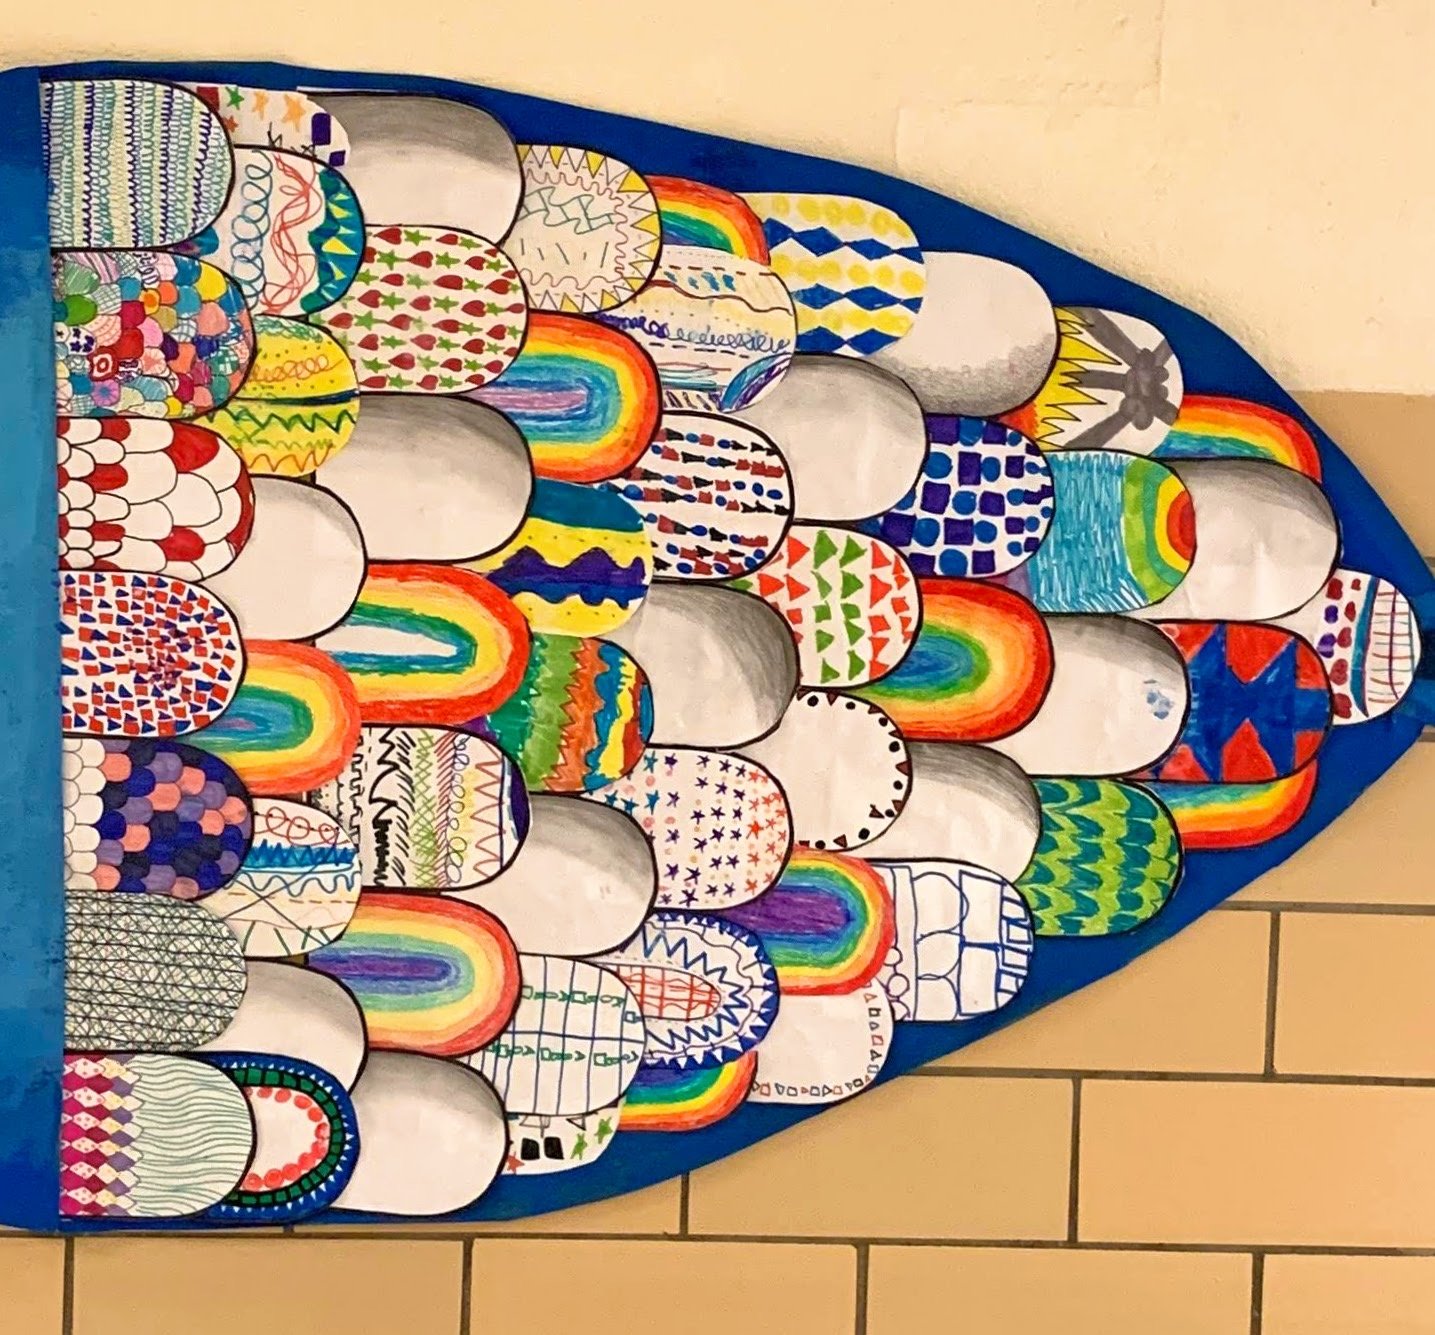
Once everyone had made a scale, I sorted them so there was an even distribution of color and black-and-white. I rolled out 6 feet of craft paper and painted three fish in different colors with different facial expressions. Once the paint was dry I attached the scales. When it was time to hang the fish, I flipped them over and attached a piece of posterboard with white glue. I folded the posterboard at the top, which helped to reinforce the area. I punched two holes, where the posterboard was folded and inserted paperclips. Next, I tied fishing line to the paperclips on one end and to Outus hooks on the other. To stabilize the fish on the wall, I placed three small pieces of XFASTEN tape to the back of the fish.
The displays will hang in the hallway until the end of the year and I don’t have to worry about them falling!
Art fair banners
The displays for the annual art fair are heavy. They are 2 to 3 feet wide by 6 to 8 feet long and hold 8 to 10 pieces of artwork. I use Scott’s double-sided tape to attach the artwork to construction paper. The banners are cut from rolls of white paper. To reinforce the top of the banner, I insert the top edge of the paper in between a folded piece of poster board with white glue. Once the glue has dried, I punch two holes, into which I put paperclips. Fishing line is tied to the paperclips and at the other end I attach the Outus hooks. I place two pieces of XFASTEN on the back of the banner, midway down. The tape helps secure the banners so they don’t move when students are milling about the hallway
I hope my experiences and experiments help you the next time you hang a display. Share your adventures in hanging school displays in the comments below!
Pop up Art School is a mobile and virtual art school that has taught thousands of art programs in public libraries for kids teens & adults.
You can learn more about us at popupartschool.com or follow us on Instagram or Facebook @popupartschool
Join our email newsletter community:
Click here to find out where we’re popping up next, get helpful art-making tips and free mini video tutorials!
Pop up Art School – your one stop for art lessons
Ditch the car keys, choose a lesson, fire up your device, and create with Pop up Art School – from the comfort of home!
Even if you can't draw a straight line, our step-by-step art tutorials help you relax and feel confident.
Our Art-to-go library has prerecorded art projects for kids, teens and adults in a safe ad-free environment. We now offer kits with free shipping in the USA.